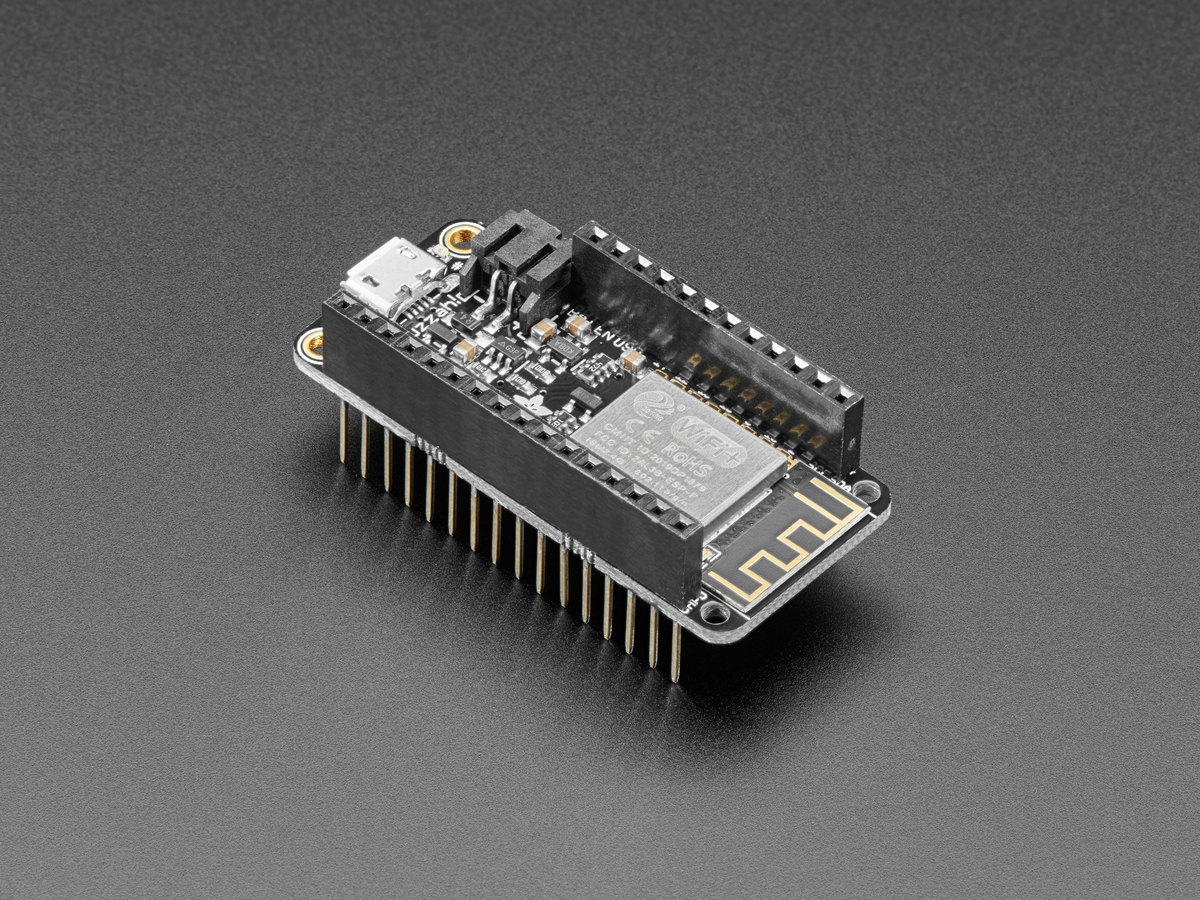
The Adafruit ESP8266 Feather Huzzah
The DS3231 precision real time clock from Adafruit.
The FeatherWing Proto board from Adafruit.
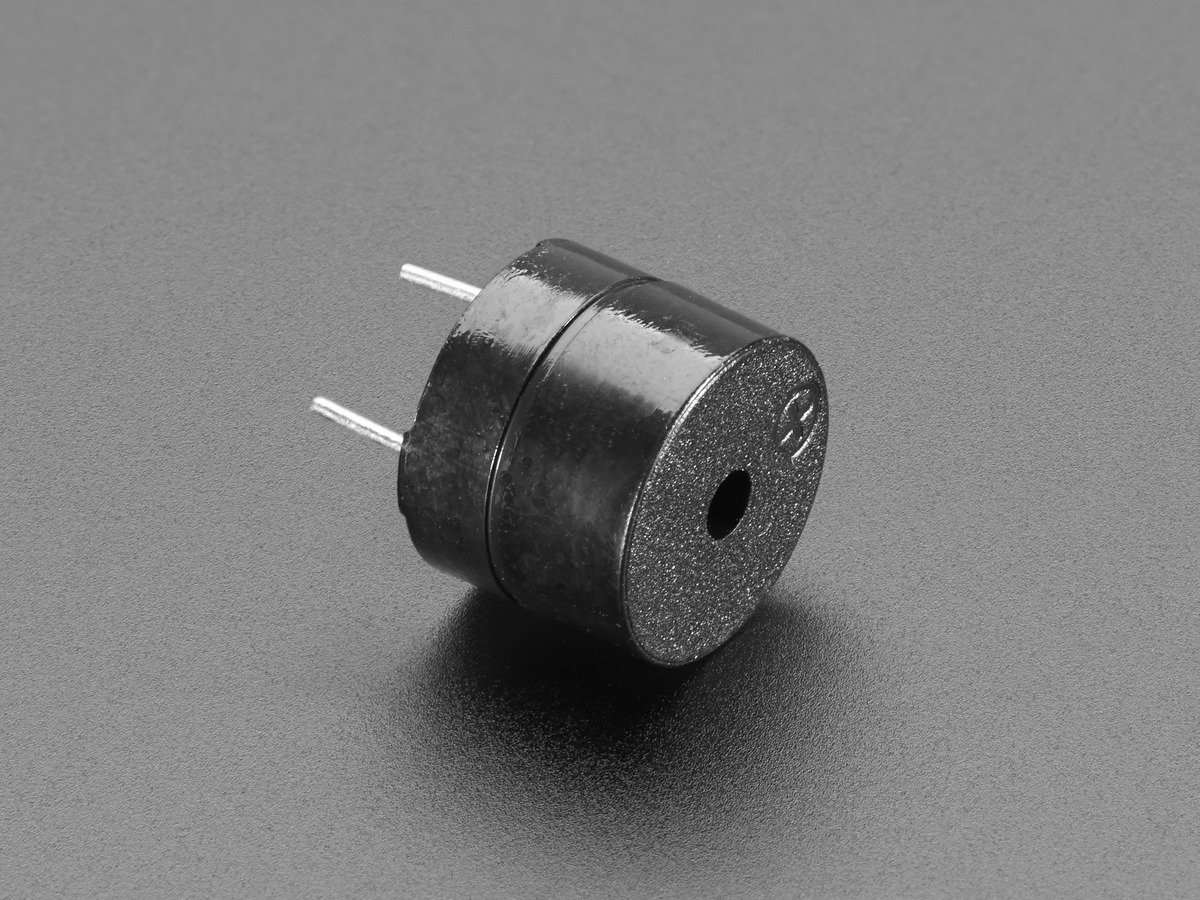
A piezo buzzer for the alarm. I'm using this one from Adafruit.
A MAX7219 8x32 four in one led module (you should choose the red color which is more convenient to look at in the night). I bought mine over at Amazon but will find them everywhere.
Some jumper wires (usually male/female should be enough but it depends on your MAX7219 board connectors).
Hook it all up...
The Buzzer will be put onto the Protoboard as shown on the image below. The Buzzer needs to be connected to PIN 15 of the ESP8266.
There is also a little tutorial over at Adafruit on how to hook up a buzzer to a ESP8266 Feathe Huzzah.
If you have finished this you simply can put the modules on the Tripler board as shown on the next image.
Now the next step will be connecting the MAX7219 board to the ESP8266 as shown on the image below.
You need to connect the following pins:
MAX7219 ESP8266 Feather Huzzah
CLK (Orange) -> MOSI
CS (Green) -> RX
DIN (Yellow) -> MISO
GND (Brown) -> RTC
VCC (Red) -> 3V
Now when all these things are done you can download the code from github.
If you open the code in your Arduino IDE you just need to edit 3 things.
- In line 41 you need to put in the SSID (name) of your wifi network
- In line 42 you need to put in the password for your network
- In line 46 you need to put in the URL of your nightscout server


Moin
ReplyDeleteWie gross ist dann Das Display?
Ich glaube ich kann auch vom Dexcom Reciever (Iphone Handy) direkt zu Nightscout sharen und mir dann von da die Daten ziehen?
Gruss
Christian
Aloha,
Deletedas Display selbst hat folgende Abmessungen: Dimensions (L x W x H): 130 x 32 x 19.5 mm.
Vom Handy kann man leider nicht direkt zum Nightscout sharen. Man muss sich einen Nightscout server einrichten (kostenlos auf Heroku). Dort kann man dann einstellen, daß der Nightscout server sich die Daten via "bridge" vom Dexcom Account zieht. Das passiert dann automatisch, die Daten werden also von der Dexcom app auf dem Handy an Dexcom gesendet und der Nightscout Server zieht sich alle paar Minuten die aktuellen Daten von Dexcom. Funzt eigentlich sehr ordentlich.
Gruß,
Gerrit
Danke Gerrit
ReplyDeleteDas Display und die Platine kriegt dann mittels USB Strom?
Ich bestell mir das Ganze denke ich 2 Mal und schaue dann mit einem Kumpel ob ich ein Gehäuse dazu fertigen kann mit 3D Druck.
Macht der Buzzer gut Krach? :)
LG
Christian
Exakt, läuft alles über den ESP8266 mit einem einfachen 5V USB Netzteil versorgt.
DeleteDer Buzzer muss ich gestehen ist nicht sonderlich laut, reicht aber um uns aus dem Schlaf zu wecken.
Gruß,
Gerrit
Vielen Dank
DeleteIch habe das Display auf Amazon gefunden, kennst du evtl. eins das etwas grösser ist und auch passen würde?
Gruss
Christian
So direkt nicht, aber Du könntest mal bei Adafruit schauen, z.B. das hier: https://www.adafruit.com/product/420
DeleteBedarf einer anderen Ansteuerung als das von mir verwendete Display, sollte aber auch gehen.
Oder dieses hier: https://www.adafruit.com/product/2736
Delete